 Never let your guard down when you’re on social media! Malicious hackers are becoming better at stealing your personal information, so keep these reminders and tips in mind to remain safe while you’re on platforms like Facebook and Twitter. Lock screens exist for a reason Always lock all your devices as soon as you stop […]
The post Use these tips to stay safe on Facebook and Twitter appeared first on Complete Technology Resources, Inc..
Never let your guard down when you’re on social media! Malicious hackers are becoming better at stealing your personal information, so keep these reminders and tips in mind to remain safe while you’re on platforms like Facebook and Twitter. Lock screens exist for a reason Always lock all your devices as soon as you stop […]Never let your guard down when you’re on social media! Malicious hackers are becoming better at stealing your personal information, so keep these reminders and tips in mind to remain safe while you’re on platforms like Facebook and Twitter.
Lock screens exist for a reason
Always lock all your devices as soon as you stop using them. This way, you are safe from the simplest hack of all: someone opening a social media site on your browser while you’re still signed in.
In case you didn’t know, here’s how to lock your computer:
On Macs:
- Press Ctrl+Command+Q.
- Click the Apple logo on the top left corner of the screen, and click Lock screen.
On Windows devices:
- Press Windows key+L.
- If there are multiple users using the device, click the Start button on the bottom left corner of the screen, then select User > Lock.
Strong passwords aren't out of fashion — yet
A six-digit passcode may be enough to secure your phone, but you’ll need something much more complicated for your social media account passwords. Create a password that you don’t use for any other account because with the regular occurrence of data breaches, hackers probably already have a long list of your favorite passwords from other websites and platforms.
It is best to use a password manager like 1Password, LastPass, or Dashlane. These allow you to generate, save, and retrieve complex passwords.
You can also enable multifactor authentication, which requires users to fulfill at least one more identity verification step after entering their username and password. The extra step or steps can be getting your fingerprint scanned or entering a one-time passcode on an authentication app. Even if hackers have your password, they won’t be able to log in without the additional authentication requirements.
Make use of social media features
Facebook can help you monitor who’s accessing your account and from where. On a Mac or Windows computer, click on the down arrow located at the upper right corner of your Newsfeed and select Settings and Privacy. Then click Settings > Security and Login to get more information.
Under the section Where You're Logged In, you’ll see a list of the places and devices you’re logged into. If you don’t recognize a particular location or device, that means someone else has logged in as you and is likely doing things you do not approve of. You need to log them out forcibly (by clicking the ellipsis on the row indicating the malicious login and click Not you?) and then report the incident immediately.
Then, under Setting Up Extra Security, turn on Get alerts about unrecognized logins. Unfortunately, as of this writing, Twitter doesn’t have the same option. This makes implementing multifactor authentication even more necessary.
Hackers can also take over your Facebook and Twitter accounts through third-party services to which you’ve given access to your profiles, so make sure to double-check what you have approved. Here’s what you need to do:
- Facebook: Go to Settings > Apps and Websites to view and manage third-party services that use Facebook to log you into the accounts you have with them.
- Twitter: Go to Settings and Privacy > Apps to check and edit the list.
Lastly, check the permissions Facebook and Twitter have on your smartphone or tablet.
- Android: Go to Settings > Apps > App permissions.
- iOS: Go to Settings > Privacy to manage which service can access which parts of your phone (such as the camera and speaker).
Less personal info, fewer problems
These steps are just the beginning of what you should be doing. You should also limit the personal data you share on your social media accounts. Avoid oversharing.
By following these tips, you can significantly prevent Facebook and Twitter hacking.
Cybersecurity is a sprawling issue — and social media privacy is but one of the many things you need to stay on top of. For 24/7 support, call our team of experts today.
The post Use these tips to stay safe on Facebook and Twitter appeared first on Complete Technology Resources, Inc..
 MacBooks are among the most in-demand devices for both work and personal use, primarily because of their user-friendly interface and robust security. They also have their sleek, minimalist design going for them. So if you’ve finally given in and bought yourself a MacBook, you’ll want to make the most of your new toy — and […]
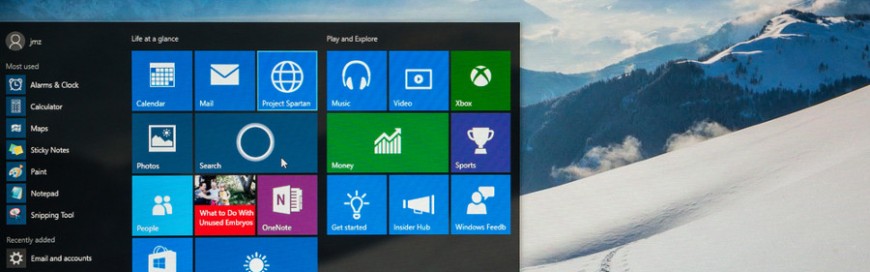 Getting tired of looking at the same old interface of your Windows PC? That’s not a problem with Windows 10. Here are some of the many ways you can customize your PC and make it a better fit for your work or leisure needs. Change your themes The most notable way to personalize Windows 10 […]